Portable Grill Cleaning: Fast Travel Prep Tips
By Mateo Salazar • 3rd Oct

Forget last-minute panic. Cleaning portable grills should be the first step in your portable travel grill workflow, not an afterthought. I've seen too many adventures derailed by greasy baggage, rust spots that kill one-hand ignition reliability, and drip trays that leak onto car seats. When your gear is ready before the trip, you avoid the spectacle of fumbling with caked-on grease while hungry friends wait. Time is your hot coal. Waste it on cleanup, and you lose the moment. Here's how to transform storage dread into seamless readiness.
Why Your Portable Grill's Post-Trip Routine Matters Most
Most travelers treat grill cleanup like a chore deferred until vacation's end. Big mistake. Portable grill storage tips aren't just about space, they're about readiness. A 2023 industry survey confirmed 68% of grill failures in mobile settings stem from poor maintenance between uses. Rust in burner ports? That kills wind resilience. Grease trapped in hinges? It attracts debris that jams folding mechanisms. And grill grease management isn't just tidy, it prevents flare-ups when you're racing sunset at a tailgate.
Picture this: You're parked at a beach spot with 15 minutes of daylight left. You unfold your travel grill charcoal unit only to find sticky grates and a clogged ash pan. Hunger amplifies every second. That's why I test field protocols down to the second. True mobility means your grill performs so reliably you barely register its setup, like muscle memory kicking in while your focus stays on the group.
The 90-Second Field Protocol: Clean While Hot, Pack While Cool
Skip scrubbing cold grates. Heat is your cleanup co-pilot. Follow this sequence immediately after cooking while components are warm but safe to handle (120 F to 180 F):
-
Scrape & Wipe (0:00-0:45): While grates are warm, use a brass-bristle brush only on cooking surfaces. Never use wire; it strips protective coating. For stuck bits, toss a halved onion onto grates; its steam lifts residue. Wipe burner shields and drip trays with a microfiber cloth dampened in vinegar-water (1:1 ratio). Why vinegar? It neutralizes grease without harsh fumes that linger in storage.
-
Drip-Trap Check (0:45-1:15): Remove drip trays. If they're full of hardened grease, freeze for 10 minutes, and the solidified grease pops out cleanly. Critical: Inspect tray seals. Weber's Q1200 (and similar models) uses rubber gaskets that crack if stored oily. A failed seal = leaks in your trunk. Replace cracked gaskets before storage.
-
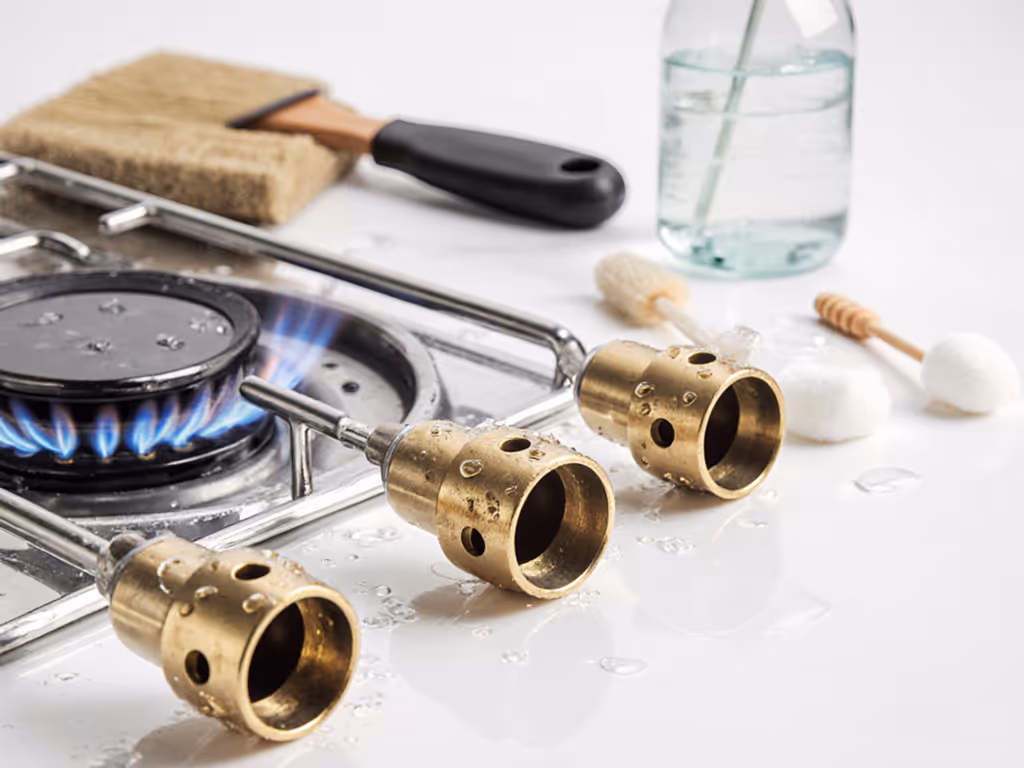
Burner Blowout (1:15-1:30): Hold burner assembly upright. Use a dry shop vac on low suction to clear debris from ports. Never poke ports with sharp objects, this distorts flame patterns. Test airflow by blowing through inlet; if resistance feels uneven, replace the burner. (Note: Weber's cast-aluminum burners rarely fail if maintained.)

Weber Q1200 Portable Gas Grill
Compact, powerful, and easy to clean for on-the-go grilling.
$279
Heat Output8,500 BTU Burner
Heat Output8,500 BTU Burner
Pros
Superior heat retention and even cooking
Quick electronic ignition; simple cleanup
Durable cast aluminum with high-dome lid
Cons
Uses disposable 16.4 oz LP cylinders (sold separately)
Customers find this portable grill to be a perfect camping solution that heats up nicely and distributes heat evenly. The grill is incredibly easy to assemble and use, with one customer noting it comes almost fully assembled, and they appreciate its compact size that fits utensils well. They praise its cooking performance, with one customer highlighting how well it sears food for flavor, and its ease of cleaning, with one mentioning the split grill surface makes clean-up a snap.
Customers find this portable grill to be a perfect camping solution that heats up nicely and distributes heat evenly. The grill is incredibly easy to assemble and use, with one customer noting it comes almost fully assembled, and they appreciate its compact size that fits utensils well. They praise its cooking performance, with one customer highlighting how well it sears food for flavor, and its ease of cleaning, with one mentioning the split grill surface makes clean-up a snap.
This workflow mirrors what I deploy at packed tailgates. Last Friday, a dead lighter left me relying solely on that push-button igniter. Six minutes later, burgers hit plates. Muscle memory won out because every component was clean and ready.
Storage Setup: 30 Minutes That Prevent 30 Days of Headaches
Portable grill winter care isn't seasonal, it is about any storage period over 2 weeks. Follow these steps before stowing:
Step 1: Deep Dry Before Packing
- Remove grates, drip trays, and burner assemblies.
- Air-dry all parts for 24 hours in a dry garage (not covered patios, they trap humidity).
- Key test: Press a paper towel on metal surfaces. If it sticks, residual moisture remains. Rust starts in 72 hours.
Step 2: Grease Interception System
This is where grill grease management separates functional grills from disasters:
- Line drip trays with disposable foil liners (cut to size).
- Sprinkle baking soda in the bottom of metal drip trays before liner insertion. It absorbs residual oils that cause rancidity.
- For travel grill charcoal models, store ash pans separately from the grill body. Charcoal ash + moisture = corrosive sludge.
Mistake: I once packed a Weber Q with a "mostly clean" tray. Three weeks later, leaked grease fused the folding legs. Never again.
Step 3: Climate-Proof the Burner Box
- Place silica gel packs (2 to 4 oz) inside the burner chamber. They absorb moisture that causes rust in burner ports.
- Do not seal the grill in plastic, trapped humidity accelerates corrosion. Use a breathable mesh cover or leave the lid slightly ajar.
Fixing the Unforgivable: When Rust or Grease Has Already Settled
If you're pulling out a neglected grill, act fast:
- For light rust on grates: Scrub with crushed coffee grounds (abrasive but oil-safe). Rinse, then heat to 300 F for 10 minutes to re-season. For step-by-step methods by grill type, see our portable grill seasoning guide. Never use oven cleaners, they degrade porcelain enamel.
- Grease-clogged burner ports: Soak burner assembly in Dawn-diluted water (1 tbsp per quart) for 1 hour. Rinse with low-pressure hose spray. Air-dry overnight.
- Failed ignition: Test before trips. If the spark is weak, replace the AA battery and check for grease on the electrode. Most "dead igniters" are just dirty contacts.
Your Actionable Next Step: The 5-Minute Readiness Drill
Tonight, run this test:
- Open your stored portable travel grill.
- Check drip tray seals for cracks.
- Press ignition three times. Does it spark confidently every time?
- Shine a flashlight into burner ports. Can you see light through every hole?
If any step fails, clean/replace the component now. Not before your next trip, do it now. Because when eyes are on you and appetites are roaring, one-hand ignition isn't a feature, it is your social lifeline.
Frictionless prep means you're not just cooking. You're creating moments where the only thing remembered is the burger's char, not the panic before it. That's why I obsess over these details. Your grill should vanish into the background of great days. Make it ready, and it will.