Smoke Flavor Chemistry in Portable Pellet Grills
By Priya Nayar • 24th Apr
Understanding smoke flavor chemistry in portable pellet smokers transforms how you cook on the move, and why your grab-and-go kit's fuel choice and temperature control matter far more than marketing specs suggest. The aromatic cloud that makes BBQ irresistible isn't random; it's a precise chemical reaction that portable systems can replicate once you understand what's actually happening inside your grill.
What Creates Smoke Flavor: The Core Chemistry
When wood pellets burn, they release three distinct components that build smoke flavor. First, gases (carbon dioxide, water vapor, and trace chemicals) carry aroma. Second, vapors release flavorful compounds from the wood itself. Third, tiny particles of char and ash create the visible smoke that BBQ lovers recognize.
The real flavor comes from a single compound: lignin. Cellulose, the other major component of wood, burns without adding taste. Lignin is the complex molecule that gives wood its strength, living primarily in cell walls, and it's where all the aromatic payoff originates. When lignin combusts, it produces phenols, the compounds responsible for the signature sweet, smoky aroma you're chasing. For a deeper dive into wood-smoke chemistry and lignin breakdown, see our portable smoke flavor science guide.
But there's more happening beneath the surface. The Maillard reaction (a chemical partnership between amino acids in your meat and reducing sugars) builds the savory depth and brown crust (bark) that makes smoked food memorable. Nitrogen oxides from combustion react with fat and meat juices to create umami notes, while other compounds like guaiacol and syringol add layers of complexity that dissipate once food cools, which is why reheated smoked meat never tastes quite right.
The best grill is the one you'll actually carry and fuel anywhere, and that means understanding which temperature window and fuel source reliably deliver flavor in your specific context.
Portable Pellet Systems: Fuel Chemistry That Travels
Wood pellets offer a distinct advantage for modular kits: they have engineered consistency baked in. If you're weighing convenience against flavor on the road, start with our pellet vs gas portable grills comparison. Unlike lump charcoal or logs, pellets are compressed sawdust with minimal moisture variance, so the combustion byproducts (the key flavor compounds) release predictably. That reliability matters when you're relying on a single grab-and-go kit across parks, beaches, and trailheads where conditions vary.
Pellet composition includes lignin (the flavor hero), minerals like potassium and sulfur in trace amounts (which significantly impact aroma), and gases that help the pellets burn cleanly. The mineral profile varies by pellet brand and wood species (oak, hickory, and fruit woods each leave a signature), but the core principle is constant: you're paying for engineered repeatability, not foraged unpredictability.
This is where cost-per-meal math becomes your friend. A pound of pellets costs roughly $0.30-0.50 and yields two to four servings depending on cook duration and grill efficiency. That's transparent fuel economics, which matters when you're rotating gear through a small apartment or van and tracking the true cost of portable cooking.
The Temperature Sweet Spot: Why 650-750°F Changes Everything
Not all smoke is created equal, and temperature is the gatekeeper. Between 650 and 750°F, the best aromatic compounds from wood emerge (specifically guaiacol and syringol), which together carry most of the taste and aroma you associate with smoked meat. These are the compounds you want clinging to your bark.
Above 750°F, the chemistry flips. Acrid, bitter, and potentially hazardous compounds form instead. Your food tastes over-smoked or burnt, not because the technique failed, but because you've shifted into the wrong temperature window. For portable systems with limited insulation, holding this sweet spot is easier said than done, especially in wind or cold. Get step-by-step techniques in our windproof temperature control guide. Understanding where your pellet grill's vents and dampers sit you in that zone is the difference between memorable food and regretful pack-away.
The smoke ring (that pink halo beneath the bark) is a side effect of this chemistry, not a sign of doneness or flavor. For precise techniques, use our smoke ring control checklist for portable pellet grills. Nitric oxide and carbon monoxide from wood combustion bind with myoglobin (the protein that colors meat red) before the outer layers exceed 140-160°F. It's eye candy, not a guarantee. You can fake it with curing salts, but the actual taste comes from technique and temperature control.
Reading the Smoke: Clean Burn vs. Dirty Compromise
The color and density of smoke tell you whether your pellet grill is producing flavor or creosote.
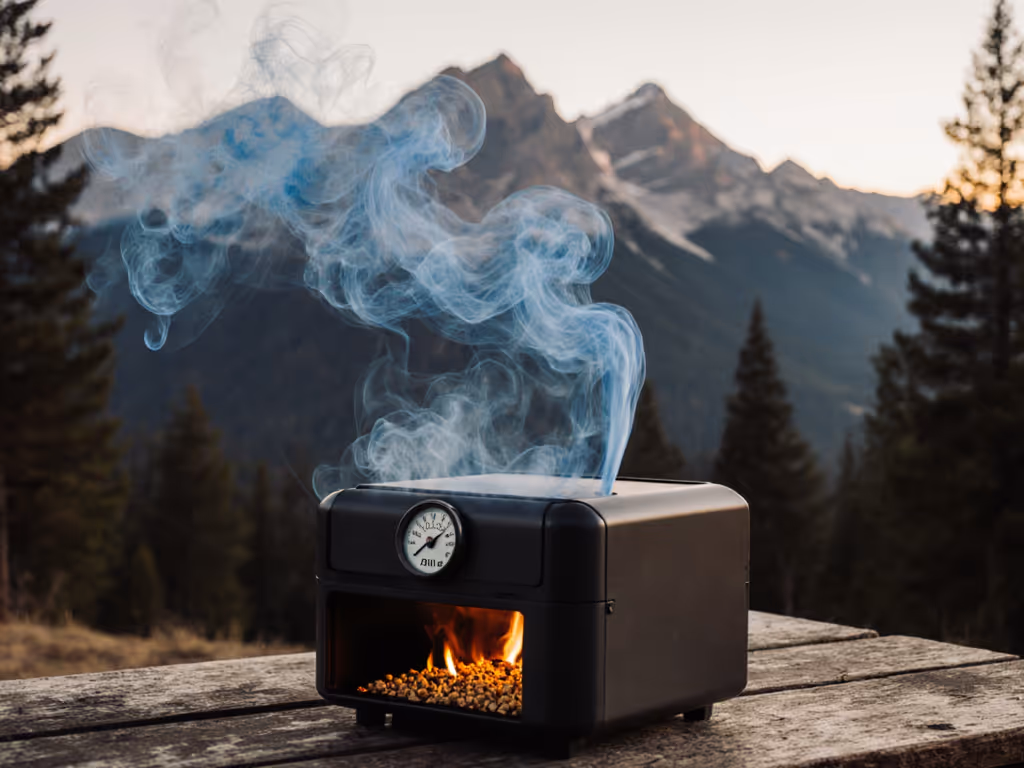
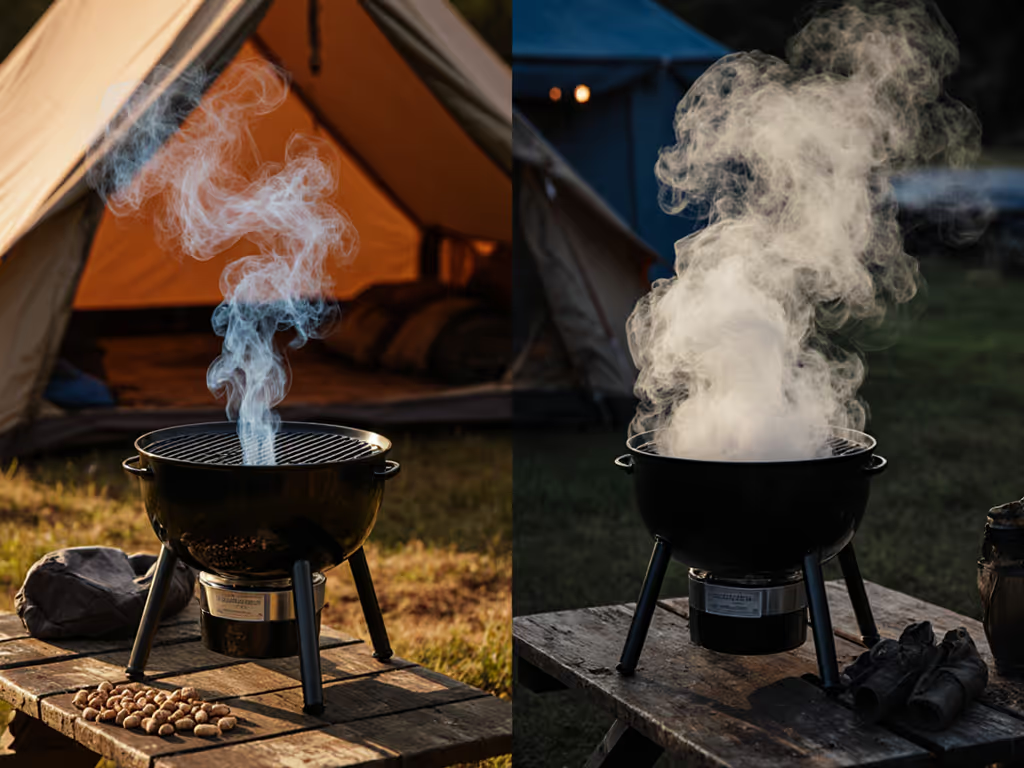
Thin blue smoke is your goal. It signals efficient combustion (clean, balanced flavor, and a steady fire). This is nearly invisible smoke and the kind pouring out of professional rigs.
Thick, white, or yellow smoke means incomplete combustion, usually caused by excess moisture in the pellets or poor airflow. This smoke tastes bitter and can leave a sooty, acrid residue on your food. Wet pellets are an enemy of portable systems because you can't easily dry them mid-trip. Buy properly seasoned, low-moisture pellets from reputable suppliers, this is non-negotiable for consistent results.
Black smoke is a warning: severe oxygen deficiency, extremely bitter flavors, and higher levels of undesirable hydrocarbons. This rarely happens in portable systems, but if your grill's airflow is blocked (clogged vent, stuck damper), you'll see it.
The fix is straightforward: manage airflow and temperature through your grill's vents. For portable units, this means learning exactly where your damper positions sit you in the 650-750°F window and how wind affects that equilibrium. Keep a notebook of settings. It's cheaper than trial-and-error across ten weekend trips.
Smoke Penetration & Practical Kit Implications
Here's what frees you from perfectionism: smoke flavor lives almost entirely on the surface. Smoke compounds bond with fat, moisture, and the bark itself, not penetrating deeply into the meat. This is good news for grab-and-go cooking. It means you don't need a massive cook chamber or hours of low-and-slow to build flavor; you need reliable surface conditions and consistent temperature.
For portable pellet grills, this translates to: medium-sized cook areas (12-18 inches wide) are sufficient for small groups; bark forms from a combination of smoke particles, rub adhesion, dehydration, and the Maillard reaction; and airflow during cooking, not size alone, drives results.
Moisture also matters: moist meat surfaces absorb smoke more readily. Some portable cooks spritz their meat or run a small water pan, which helps smoke cling. This is why even tiny portable systems can deliver impressive bark, you're optimizing surface chemistry, not requiring industrial volumes.
Building Your Fuel Logistics Around Chemistry
Here's the principle I learned on an overnight train to the coast: carry the fuel you can buy twice in town. For flavor-first decisions, see our real-world pellet vs charcoal flavor test for compact grills. I'd packed both butane and propane adapters alongside my folding grill; when the station vendor ran out of butane, that tiny adapter saved dinner for four. Redundancy and standard fuel types matter more than boutique options.
For portable pellet systems, this means:
- Know your local pellet supply: Can you buy a 10-20 lb bag at any hardware or farm store within an hour of your regular cook sites? If not, carry reserves or consider a dual-fuel system.
- Understand cost-per-meal: 1 pound of pellets ≈ $0.30-0.50 and covers two to four servings. Budget accordingly for your modular kit's operating cost.
- Verify fire bans and regulations: Many parks prohibit charcoal but allow pellets (or vice versa). Know the rules before you pack.
- Test in your rig's context: A pellet grill performing beautifully on your patio may behave differently in wind or at altitude. Run cost-per-meal experiments in the conditions where you'll actually cook.
Actionable Next Step: Calibrate Your Grill's Temperature Map
The most practical move is to map your portable grill's exact vent and damper positions to temperature zones. Set up your grill on a calm day with a reliable thermometer, adjust vents in small increments, and record where you sit at 600°F, 650°F, 700°F, 750°F, and 800°F. This plain-language checklist takes 30 minutes and replaces dozens of guesses:
- Set up: Place thermometer at grate level, in the center cook area.
- Start at full open: Record the max temperature.
- Close damper by 10% increments: Record temp at each step until you hit 650°F (your flavor floor).
- Mark that position: That's your sweet spot.
- Continue closing: Find where you hit 750°F (your ceiling).
- Note both settings: Write them on the grill's vane or in your kit notes.
Once you know those two settings, every cook becomes predictable. You'll stop wasting pellets testing and start nailing the chemistry. That's how your grab-and-go kit becomes reliable, and how you build cost-per-meal math that actually works across seasons and sites.
Related Articles